Search This Blog

3/29/21

Backing Day is Wednesday, March 31st!

 Here's a reminder from your friendly neighborhood Cotton Patch that Backing Day is this Wednesday, March 31st! 

If you're new here and don't know what Backing Day is...

Bring in your finished quilt tops (100% complete, no more borders to add, done) on the last day of the month and receive 25% off your backing of choice, even Clearance!

The usual rules apply:

  • If the last day of the month falls on a Sunday when we're closed, then Backing Day is the day before (Saturday). 
  • Discount valid on single-fabric backings only.  Sorry, this is not valid on several cuts of different fabrics for a pieced backing.  
  • Sale prices not combinable with any other offer (this includes deals from Five Stars, redeeming points, and coupons)
  • Sale prices good in-store only on the sale day and limited to stock on-hand. 
We can't wait to see what you've created - see you on the 31st!

3/25/21

Color Theory, the Series! Part II: Hues

 Ah, the good ol' Color Wheel.  You remember this guy, right?  Didn't we all make one of these in grade school with too much glitter and tempera paint?  Just me? Okay.


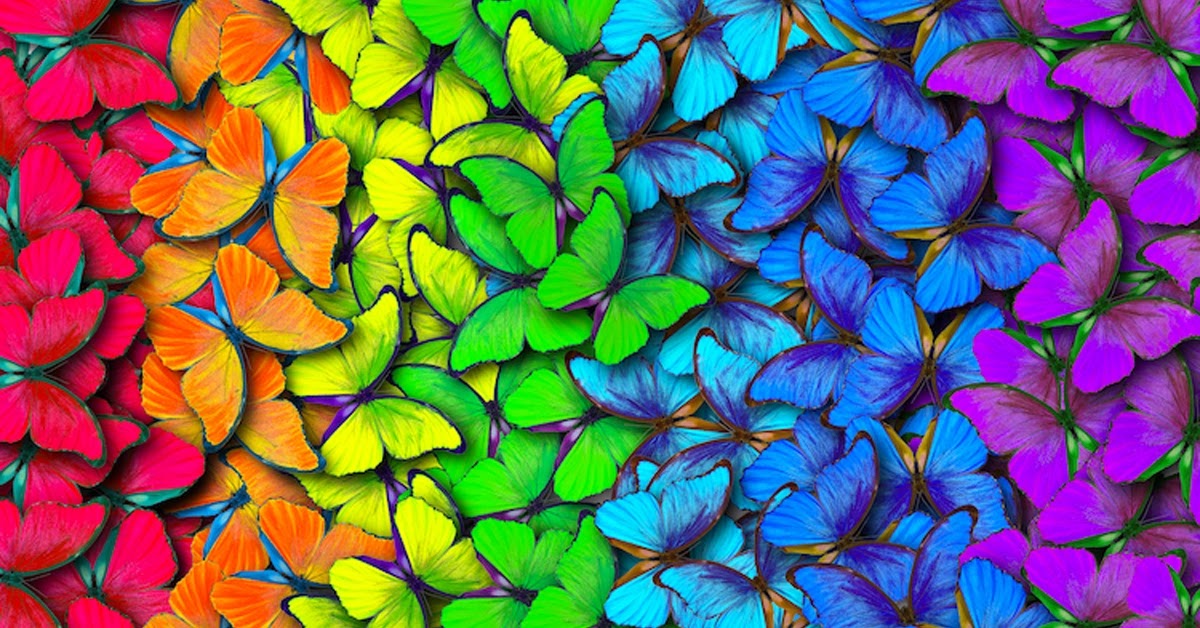
Today we're focusing on that outer ring, the Hue.  Like the picture says, Hue is the pure color without any gray, black or white added.  This color wheel has some other stuff going on, as you can see, but let's just focus on the Hues, shall we?

At the most basic level, you find your primary, secondary, and tertiary colors in the Hue ring.  What are those (skip ahead if you know this already - as I said last time, this is a primer from the ground up so I may explain things you already know) 

I preface this by saying...yes...There are more than one model describing Primary, Secondary, and Tertiary colors and these are used for different purposes.  I'm going with the Red-Yellow-Blue (RYB) as it's the most basic and what most folks are familiar with.  But know that others exist...like Red-Green-Blue (RGB, used often in image editing online),and Cyan-Magenta-Yellow (CMY, used often in print settings).  Let's keep it simple and go with RYB. Okay? Okay. 

Primary - The primary colors are the three that make up all other colors to some degree - red, yellow and blue - and are the least complex.  These colors are not the result of mixing any other colors.  There's nothing you can mix together to get a true, primary red.  Red just is.  Ditto for blue and yellow.  

Secondary - The secondary colors are the result of mixing any two of the three primary colors; red + yellow yields orange, yellow+ blue yields green and blue + red yields violet. They're still fairly pure, but have more complexity than the primaries.  Add those two colors in different proportions and you will get variations.  

Tertiary - These colors are yet more complex. I like to think of these in Crayola color terms; Violet-Red, Red-Violet, Yellow-Green, Blue-Purple...all of the least creatively named, yet prettiest (in my opinion) crayons of the Crayola 24 pack.  These colors are achieved by mixing one primary color and one secondary color, so they end up being the "in-between" colors, not quite one or the other. This is one way to get your darks and brights of secondary colors without adding white or black.  

Understanding hues is super helpful when you're picking your palette for your quilt. Think of the hue like the foundation of your house. Your house needs a foundation to be built on, just like your quilt needs color to grow from. By knowing how a hue is built and where it sits on the Color Wheel, you can more easily choose the colors to go with it. Each hue has a built in set of colors it naturally looks nice with, both yielding different visual effects: the accompanying colors can either be Analogous or Complementary.  

So, what does that mean? For the sake of example, let's say I've chosen a purple focus fabric:

Analogous - Analogous colors are the colors that are immediately next to each other on the Color Wheel, and are made up of one primary, one secondary and one tertiary. Since my focus fabric is purple, my analogous color set could either be red, red-violet and violet or blue, purple (aka blue-violet) and violet. Analogous colors in quilts create a softer, calmer more blended appearance (even if your focus is yellow) since they are all in the same color family.  See below:


Complementary - Complementary colors are the colors that are opposite each other on the Color Wheel. Check out the wheel below - you can see that Violet's complement is yellow. When you're dealing with hues, complementary colors are a pairing of one primary and one secondary, or a pairing of two tertiaries, depending on your color choice. In quilts, it is the Complementary pairings that give your quilt pop! The opposite colors make each other brighter and more intense. Complementary colors can be expanded into analogous-complementary pairings, meaning you pair your focus analogous set (let's say red, red-violet and violet) with their complementary analogous set (yellow, yellow-green and green). Using these more complex pairings gives you a wider range of color, and while toning down the intensity of your complements still gives your quilt what I call "the pop factor." If you mix two complementary colors together, however, you will get a muddy shade of grey-brown. This is useful if you need a brown that plays well with your complements.


So what are your favorite complements?  Share in the comment below!

3/17/21

When Good Machines Misbehave: Basic Troubleshooting

We've all been there.  

Our perfect, wonderful, best little sewing machine has started to misbehave.  

Maybe it's tension, maybe it's lint, maybe it's mechanical?  Every quilter has had that moment of frustration when their machine is messing up and they can't figure out why. Here's a few things to look at before throwing in the towel:

General Trouble Shooting
Here are few general steps to go through that might fix what's ailing your machine before you take it in (or chuck it out a window...kidding! Kind of.)

Rethread. Yes, sometimes it's as simple as rethreading your machine and that's it. Your thread may have slipped out of the tension disks, broke, or got caught somewhere that you wouldn't necessarily see right away. Rethread your top thread and your bobbin thread nd give it another go. Speaking of bobbins...

Rewind Your Bobbin. Sometimes if a bobbin isn't wound properly, it causes weird little issues. Be sure to wind your bobbin as per your machine manual's instructions.  Use one continuous piece of thread to wind your bobbin, not several pieces of varying color and length. It seems like a great way to save and use "waste" thread, but in terms of your machine's function, it can cause more problems than it solves. And while you're down in the bobbin area...

Clean Your Bobbin Case Area. Your machine probably came with a little, stiff bristled brush for this, but a soft paintbrush or makeup brush works awesomely since their bristles are soft and flexible and get in the crannies better than what the machine came with. Dust and lint can really foul things up if a lot has accumulated.  Brush out that bobbin case area and around the feed dogs. Carefully remove the throat plate if needed.

Change Your Needle. It could be that your needle is bent, dull or barbed and snagging on your fabric or thread. It's amazing how much a little needle can mess so much up! Or, you may not be using the right needle for the job - make sure you're using the one you need.  

Problem Specific Troubleshooting
Here are a few common problems and how they can be fixed (in most cases)

Help! My bobbin won't go back in! It sounds silly, but is your needle down, or up? If it is down, the needle may be blocking where the bobbin goes. Using the handwheel, gently raise your needle and try again. If that doesn't work, have a look inside. If you just cleaned your machine, odds are something didn't get put back in properly. Look for loose pieces and put them in again. Your bobbin case should go in just fine.

Help! My bobbin thread is coming through my top thread! It's a tension issue - your needle tension is too high and is pulling the bobbin thread too hard; this is what makes it peek up through your top thread. Reduce it half a number at a time, and try again.

Help! My top thread is poking through my bobbin thread! Another tension issue - your needle tension is too loose. Tighten it by half a measure and try again.

Help! My fabric is puckering when I straight stitch (and I don't want it to!) It's yet another tension issue. In this case, both needle and bobbin tensions are too tight. Loosen your needle tension by half a measure. Get to your bobbin and take out the bobbin case. See that screw on the side? It needs to be loosened, but only a little -  try only a quarter turn at a time. Put your bobbin back in and try again. Adjust as needed until it works.

Help! There is smoke coming out of my machine, what did I do?! Whelp, you might have just burned out your motor.  Don't pass Go, take it in for repairs.  They might be able to fix it, but like damage to car consider whether the cost of the repair is greater than the worth of the machine. 

Help! My machine is skipping stitches! This is usually a needle problem. Use the right needle for the job and change to a new one. It might be bent or barbed.  If you change your needle and rethread, and the issue persists, your machine may need cleaning.  Go ahead and clean out the bobbin area and try again. 

Help! My bobbin thread is looping! First, rethread your bobbin and top thread with the presser foot UP. If it's down, you're in tension mode. Try sewing again. If that doesn't work, change your needle. If that doesn't work, test with a different bobbin. It could be that your bobbin isn't wound well. If it's not, rewind another bobbin and get to work!

Help! My top thread keeps breaking! Make sure you are using a quality thread. Lower quality threads break much easier. If you're using a metallic, change to a metallic needle and take it slower More than likely it's a needle issue or a threading issue. Rethread your machine first and try again. Usually that fixes the problem. If not, change your needle.

Machine Problem Prevention
  • Keep your machine clean; we get busy on projects and forget sometimes how important this is!
  • Don't stitch using the handwheel. That knocks your machine out of tension and can mess up the timing.
  • Take your machine in for regular cleanings and maintenance by a professional.  The regular upkeep is money well spent 
  • As always, DON'T FORCE your machine if it's stuck.  If it wasn't broken then, it will be if you force it to move when it's resisting the movement.  Always be gentle when troubleshooting.
If you're ever in doubt, TAKE YOUR MACHINE TO A PRO. It's always worth it!  If you're not sure who to take it to, give us a call and we can recommend some places...if you're outside the Salem area, give your friendly neighborhood quilt shop a call and they can make some recommendations for your area. 

Do you have some handy tips for troubleshooting your machine?  Leave us your tips in the comments below!

3/11/21

Color Theory, the Series! Part I: Warm & Cool

People come in all the time asking for help with color choices, usually followed by "I just can't put colors together." Don't get me wrong, I love helping people with their color choices, I think it's the most fun part of the quilting process! But this post is about empowering you to choose the colors you love, and make those tricky color choices when you need to.  There are tools for that...Color Theory!

Color Theory sounds like an unnecessary complication to a pretty straight forward concept - choosing colors you like and that look good together and putting them in a quilt.  But understanding how colors interact not only is a valuable foundation to have, but it opens up so many creative doors that may have been locked before. 

Since we're all starting from different experience levels, I'm going to explain Color Theory from the ground up; I'm not insulting anyone's intelligence, I promise, I'm just going to lay it all out so everyone starts on the same page.  

This is a seven-part series, from now through July, so hold on to your butts! First up? The super, super basics - Warm & Cool Colors

The Basics

If you're one of those folks that claims to be bad at color, this one's for you.  What's your favorite color? Is there a color pairing you find yourself buying a lot of for your home or wardrobe? If you can dress yourself, then you can pick color. We all have a reasonably good idea of what colors look good on us, what does nothing for us, and what looks downright God-awful.  For me that means jewel tones are winners, beige doesn't do a thing for me, and yellow is just plain ghastly on me. Think about your skin tone - if you're a person that wears makeup, then you have a sense of warm and cool tones (you know this for when you're trying to match your foundation, right?).  

Knowing whether you're drawn to warm colors or cool colors is a fabulous starting point when choosing color because it doesn't tie you down to a single color, but gives you a jumping off point in the tones you know you already love.  

Like I said before...we're all starting out at different levels here so I'm going to cover it all. So what specifically do I mean when I call out warm or cool colors? 

Warm Colors - Red, orange and yellow are your basic warm colors. There's also browns and tan that can be warm too. Warm colors all share a primary base of red.  These colors all evoke feelings of warmth (duh), brightness, joy, energy, richness, and give whatever they're in a dynamic edge.  They keep the eye moving, especially yellow. 


Cool Colors - Traditionally, these are green, blue and purple. Grey, brown, black and beige can also be cool colors if they are blue or green based. Cool colors all share the primary blue base. These colors evoke feelings of calmness, coldness, crispness, luxury (purple isn't called the royal color for nothing!) and freshness.

But, warm and cool is all about the primary base color of red (warm) and blue (cool).  So, that means there's some wobblers - think back to your Crayola days.  There was purple (cool) but red-violet (also in the purples section) was very definitely warm toned. Think about your neutrals - tan is warm, but take it a couple clicks in the other direction to taupe and you have a cool tone.  But you can have blue-y greys (cool) and taupe-y greys (warm).  Taupe is a notorious wobbler between warm and cool.  

If you're ever unsure about which way a color is going in a fabric you're using, grab something anything handy!) that is a true warm or cool and compare it.  Do they blend or contrast?  That's a quick way to help reveal a tone.  Or, take the piece into different lighting and see if you can see a difference.  Fluorescent, incandescent, and LED lighting all cast a different warmth of light so sometimes moving out of one into another can help show where the tones are.  Using the basic warm/cool grouping based on where your favorite color is, is a great jumping off point when you're picking colors too.  

Next time, we'll dive into Hues and what those do for us.  

What's your favorite color or color range?  Leave us a comment below!

3/8/21

Star Cycle BOM Starts April 2021!

It's that time again!  That's right - Block of the Month is back at The Cotton Patch with our latest design, Star Cycle:


(Please be cool and do not copy this design.  This is an exclusive pattern from The Cotton Patch (c) 2021 and sign ups are open!)

But before we dive into the program, a little housekeeping, shall we?
Yes...it's still life in the time of COVID, and yes, we still aim to be compliant with the State mandates.  So what does that mean for this program?  In-person attendance is A) optional, and B) limited.  We will have our back room sanitized and set up for social distancing, and once space fills up in there, that's all we can allow.  Does that mean you are down and out, and can't participate in the program?  Absolutely not!  It just means that in-person class space is limited.  If you want to grab your blocks and go, that's perfectly fine.

Also, starting in April, our Block of the Month classes will be on the FIRST weekend of the month instead of the second.  For those of you who have been with us for years, you know we have held our Block of the Month classes on the second weekend of the month.  Over time, other shops have decided to do their programs on the second weekend as well.  We're not being salty here - we don't want you to have to choose between shops and programs when there is plenty of room for everyone.  So we're moving to the First Saturday, instead of the Second.   

Good?  Good.   Now...on to the program!

Star Cycle Block of the Month


OPTION 1: Planned Colorway (just like our sample!)
Choose Option 1 and get all of the fabric for the top and binding of the lovely red and taupe version of the quilt you see pictured.  Every month you'll get the fabric for that month's blocks and full color patterns.  Choose our color way, and get a coupon for 25% off your backing of choice at the end of the program.  Love our sample but want to swap a color or two out?  You are welcome to do so, but you'll need to swap out your own colors; due to volume and limited staffing making a bunch of exceptions to the kit is challenging to keep track of.  We'll be happy to tell you how much you need if you choose to swap out, but you'll still get the complete sample kit monthly.  
OPTION 1 Cost: $171.25 (total)

OPTION 2: Stashbusters Style
Choose Option 2 and use your stash and scraps to build this quilt in whatever colors you choose!  Let's face it...we all have more fabric than time and this is a great way to make a totally exclusive design and use up that stash.  At sign up you'll get the yardage requirements for your background, and every month you'll receive full color patterns and a color key that you can use to create your own, unique colorway.  Sorry, no backing coupon with this Option.  
OPTION 2 Cost: $60 (total)

Diane did the gorgeous red colorway you see pictured.  Lauren will play along with the group and do a sample Stashbusters Style that you'll see the blocks for monthly.  The red sample is in-store now! 

The deadline for sign ups is March 27th.  Give us a call at (503) 463-1880 to sign up by phone or stop by to sign up in person - payment is required at time of sign up.  

We are just thrilled to be back at it with Block of the Month - 2020 was a LONG, weird experience for everyone and a fresh new project is just what the doctor ordered.